How to ensure that images are watermarked at the right times

This poses several challenges, especially for larger teams. A typical problem is ensuring transparency within the organization, making it clear which images are retouched and which are not. If this is not adequately marked, you risk team members asking around or digging through emails to find such information.
Another problem may be the watermarking itself, often resulting in a lengthy manual process, where images must be downloaded, uploaded to the editing software, downloaded from there, and uploaded again.
Learn more: Digital Rights Management (DRM): Protecting your digital assets by managing access and copyright
How Fotoware helps label retouched images in 2 simple steps
Step 1. Use markers
The process of complying with the regulation outlined above can be broken down into two separate steps: Being able to tell which images that are retouched and watermarking these. The first of these is easily solved in Fotoware through markers.
Explained in short, markers are tiny icons that, when triggered, appear on an asset’s thumbnail, aiming to communicate something about it. They can be customized in great detail and are directly tied to a specific metadata field. For example, you can have markers illustrating the file type (png, jpg, etc.) or whether or not the asset is used for a specific campaign or channel.
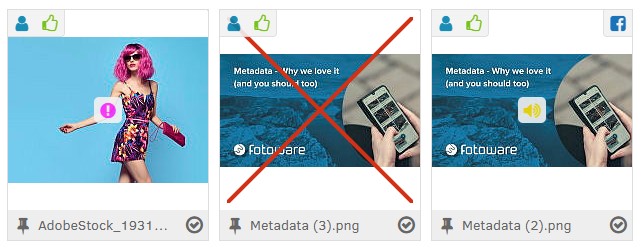
In this specific case, it would be beneficial to create a custom marker to indicate whether a person in an image has had his/her appearance altered. This way, everyone working with the images will be able to quickly tell which that are retouched and which are not.
Step 2. Enable a processing profile with a watermark
Once your team is able to easily tell which images need watermarking, the next step is to ensure that the watermarks are accessible when downloading the images.
 Transparency in editing: This image is labeled ‘Retouched Person’ to ensure authenticity in visual content.
In Fotoware, this process begins by uploading the watermark(s) to the system. We recommend uploading them in different sizes, so you’ll have multiple options depending on your images' dimensions.
LEARN MORE: Macros - The fastest way to apply metadata to your assets
Next, you’ll move on to your processing profiles. Here, you simply create new ones, this time with your selected watermark. Once that’s done, you simply attach these to your selected processing profile set(s). Which set you use may depend on the archive, so make sure to attach the suitable profiles to the right set.
Now, your watermark should be available when using the “crop & download” function. We recommend using pre-determined dimensions and marking these clearly, so the users know which processing profile to match with which image size. If this is set up correctly, complying with the Norwegian Marketing Control Act for retouched images should be an easy task.
Related blog posts
-
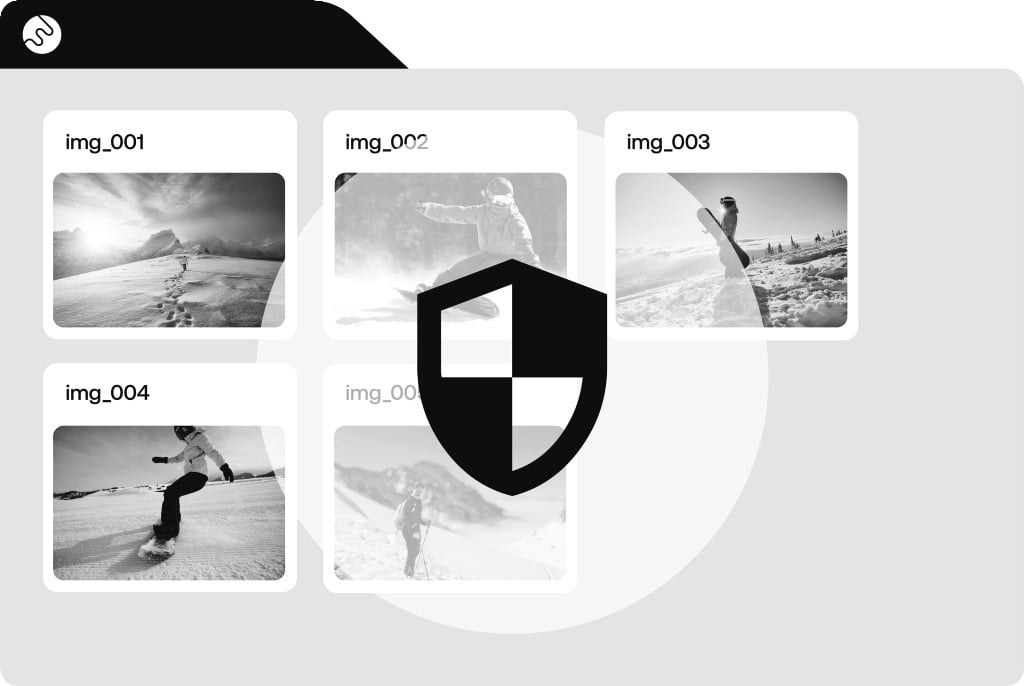
Protecting assets from authorized use through DRM
Unauthorized use of digital assets can create serious headaches for organizations managing digital assets.
-

How Financial Times got control over image rights
Assuming control over image rights helped FT support remote work. -
5 things you should know about GDPR for images
Learn 5 facts about GDPR for images to stay compliant and protect privacy with ease.