Let's first look at 5 practical tips
- Start as soon as possible after the event - Set aside a dedicated time to go through the photos will save your project. Your photos are most relevant right after the event, so strike while the iron is hot!
- Define a plan - How do you plan to use the photos? Start with your audience in mind. Granted, you really should be thinking about this before you go out on a photoshoot in the first place.
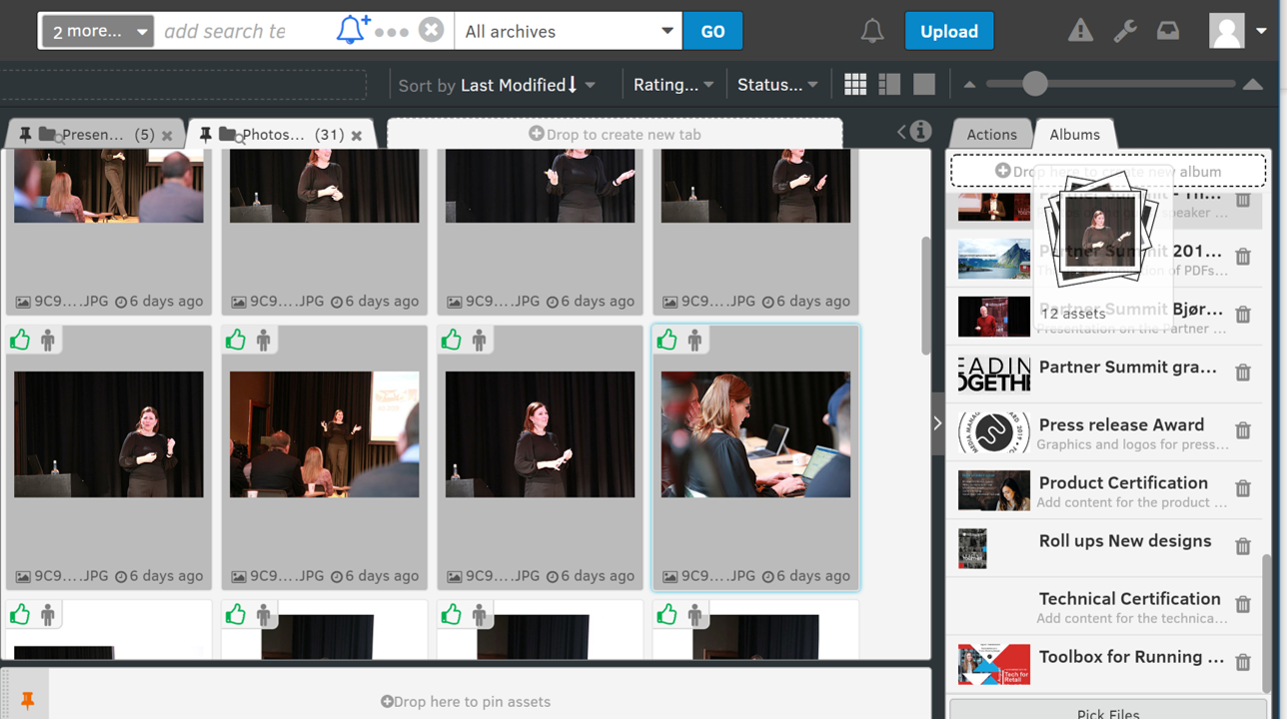
- Make a selection - Don't dump all the photos into a common sharing-platform indiscriminately. Your coworkers won't have the time to go through thousands of photos when all they're looking for is that single, good shot. If you've been tasked with curating photos from the event, you should do just that. Remember that others won't see the photos you choose not to include in the final set.
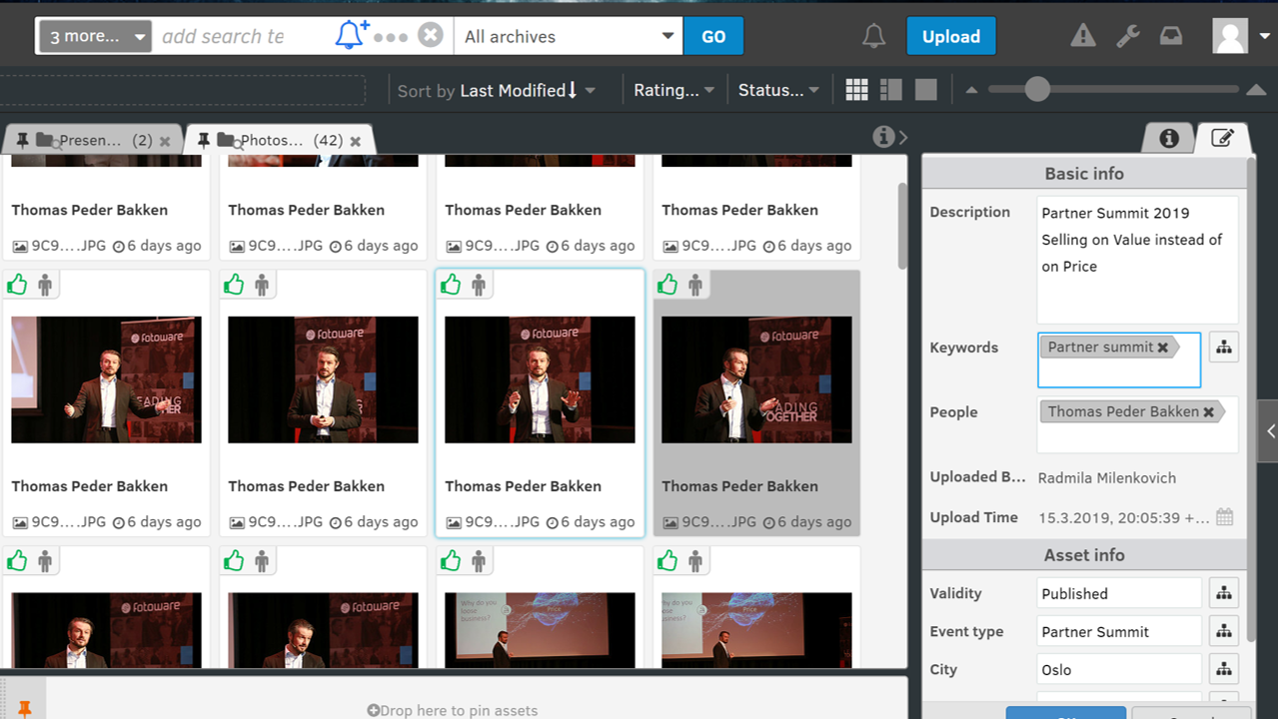
- Make sure photos are searchable - Tagging the photos with sufficient, relevant metadata gives them a longer lifespan. It also guides users that are looking for a particular shot that's suitable for their planned use.
Additional tip: Tag the people in the photo! If or when necessary, you will be able to easily delete personal information (which includes photos) on request , which is an important step towards GDPR compliance.
Invite all event attendees to see the final collection! Though they may not find a picture of themselves in the curated collection, they may be interested in sharing good photos on social media to create awareness about your brand.
How did we do it?
Fotoware organized a Partner Summit earlier this month, where Fotoware's resellers and system integrators from 14 different countries visited our home city of Oslo, Norway, for a three-day conference.
During those three days, a single photographer took no less than 4000 pictures. In no time, we had shared with our conference visitors (1) all speaker presentations, (2) ready-edited footage and (3) a selection of the 200 best pictures from the event.
After the event, I received all the photographer's RAW photos on an external drive. Using our FotoStation image management workstation, I was able to reduce the initial 2000 pictures to a much more manageable 200 in less than an hour.
1. FotoStation accessed the drive (SD card) with the photos - it can browse the memory card directly without having to import the pictures first.
2. I classified and sorted all pictures by opening 12 photos at a time in a compare view and used keyboard shortcuts to tag the files - 't' for tagged, meaning I would keep it and 'r' for rejected. In this way, I could ensure that I had the best photos from each speaker and session, whilst ensuring nothing was deleted.


.png?width=1279&quality=high)

.png)
